d. Create a pipeline
In this section, you will create a pipeline using AWS CodePipeline.
AWS CodePipeline is a fully managed continuous delivery service that helps you automate your release pipelines for fast and reliable application and infrastructure updates. CodePipeline automates the build, test, and deploy phases of your release process every time there is a code change, based on the release model you define
In the first section of this lab you created a CodeCommit repo and created a sample Docker container and corresponding buildspec file to build the container. In the second section of this lab you created a project in CodeBuild and provided the necessary information to compile your created Docker container.
In this section, you will create a pipeline with a source and build stage to automate the container build and push to Amazon ECR whenever there are any changes in the source CodeCommit repository.
-
In the AWS Management Console search bar, type and select CodePipeline.
-
Click on Create pipeline
-
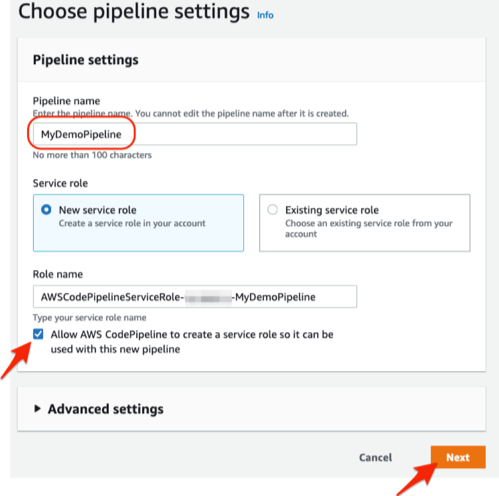
In Step 1 Choose pipeline settings, enter the Pipeline name as MyDemoPipeline. Allow AWS CodePipeline to create a service role to be used with this pipeline. The Role name will default to the following AWSCodePipelineServiceRole-<region>-<pipelinename>. Click Next
-
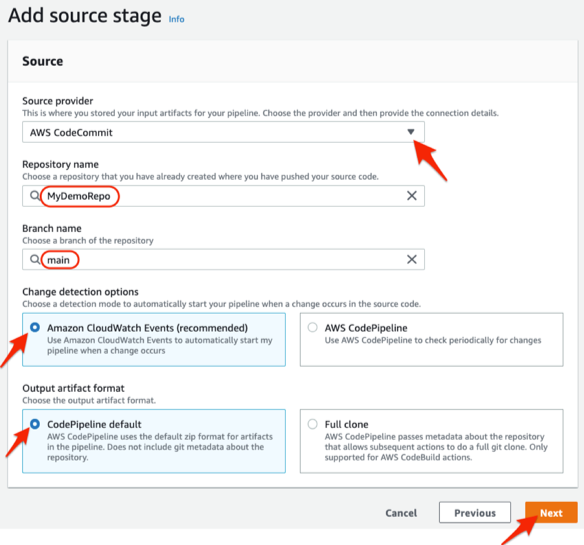
In Step 2 Add source stage, select AWS CodeCommit as your Source provider. Choose MyDemoRepo as your repository name where you have pushed your source code. Choose main for Branch name.
-
Keep the default selection for the Change detection options and Output artifact format. Click Next
-
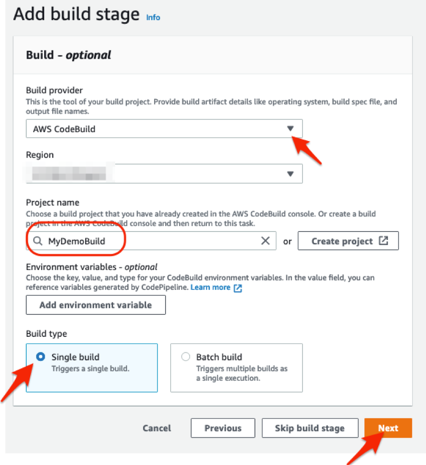
In Step 3 Add build stage, select AWS CodeBuild as your Build provider from the dropdown list. Choose the appropriate Region. In the Project name, choose the CodeBuild project MyDemoBuild that you created in the previous section. You can skip adding the Environment variables as you already provided that in the CodeBuild section. Select Single build for the Build type and click Next.
-
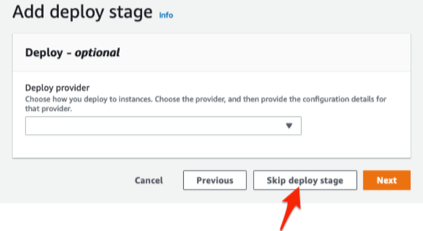
In Step 4 Add deploy stage, click on Skip deploy stage as we are building the pipeline in this lab for build automation only. We will focus on deploy/orchestration in the next lab.
-
Review your pipeline settings and select Create pipeline
-
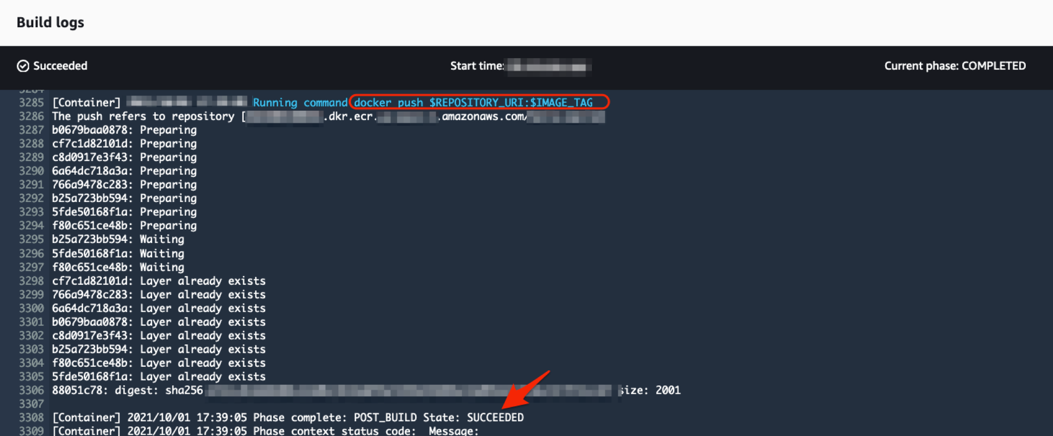
Your pipeline should execute. It will take a few mins to execute the pipeline and and if successful should display a message as shown below
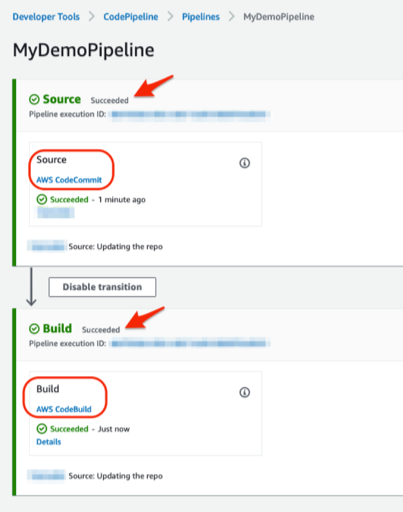 Click on the “Details” link to open the build logs: