c. Work with the AWS CLI
Your AWS Cloud9 Environment should be ready. Now, you can become familiar with the environment, learn about the AWS CLI, and then create an Amazon S3 bucket with the AWS CLI. This S3 bucket is used in the next module.
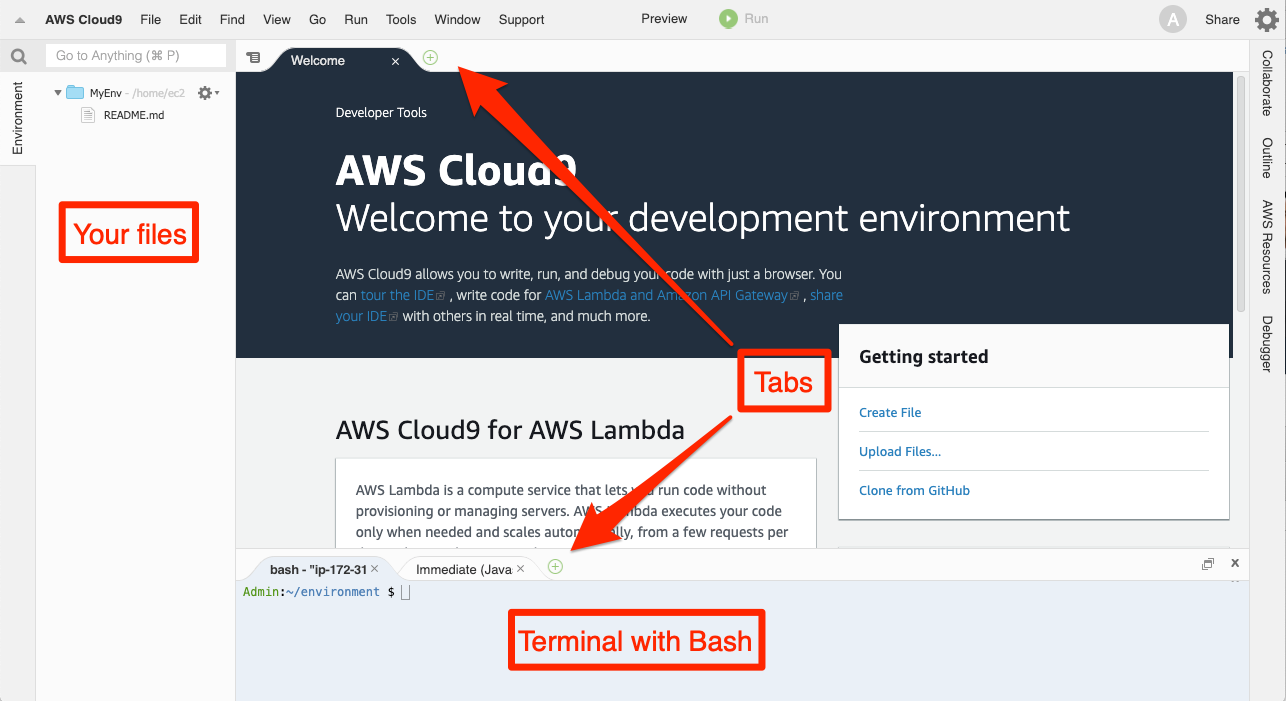
AWS Cloud9 IDE Layout
The AWS Cloud9 IDE is similar to a traditional IDE you can find on virtually any system. It comprises the following components:
- file browser, listing the files located on your instances.
- opened files in tab format, located at the top
- terminal tabs, located at the bottom.
AWS Cloud9 also includes the latest version of AWS CLI, but it is always a good practice to verify you are using the latest version. You can verify the AWS CLI version by following the next section.
Install AWS CLI version 2 and some software utilities
The AWS CLI allows you to manage services using the command line and control services through scripts. Many users choose to conduct some level of automation using the AWS CLI.
Use the copy button in each of the following code samples to quickly copy the command to your clipboard.
In your AWS Cloud9 terminal window paste the following commands
- Clean-up any exsisting aws cli installation
To make sure you have AWS CLI version 2.x. You will first uninstall any existing AWS CLI.
sudo pip uninstall -y awscli
- Install AWS CLI 2.x
curl "https://awscli.amazonaws.com/awscli-exe-linux-x86_64.zip" -o "awscliv2.zip"
unzip awscliv2.zip
sudo ./aws/install
. ~/.bash_profile
- Verify you have AWS CLI 2.x
aws --version
- Install jq utility ( you will need this utility to work with JSON files in the labs that follow )
sudo yum install -y jq